Custom Component
Custom Component can be anything – a link to your social media website, official website of club, official PPA website, other social media handles, buttons for activities, etc. You can place these Custom Component on your club’s public page that your members can interact with.
You can also add call-to-action buttons on your club’s home page with these Custom Components that can redirect the members to your club’s official website, or social media handle, or redirect them directly to your programs and services.
Once published, these Custom Components will appear on your club’s home page. Your users/customers can then use these Custom Component buttons/links to navigate directly to certain pages or websites.
Add a Custom Component Title
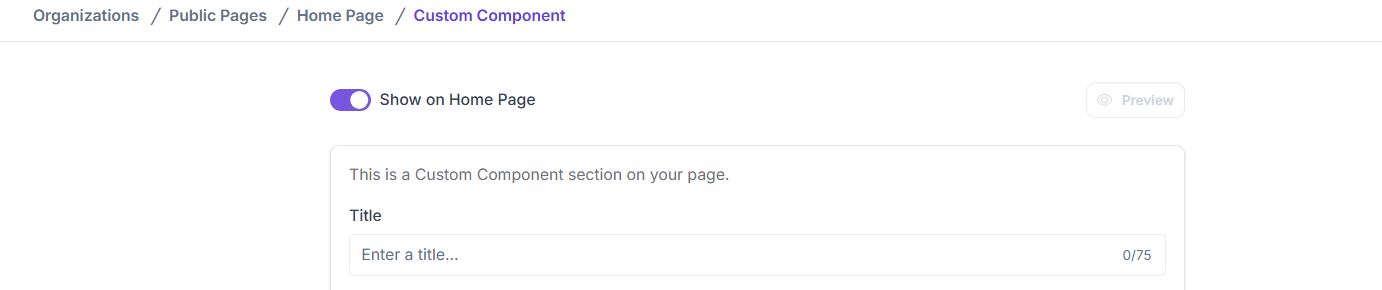
To add a Custom Component title, navigate through Organizations > Public Page > Home Page > Custom Component:
-
Enter the new Custom Component title in the Title input area.
-
Click on Save to save the title.
Custom Component Title should have max character length of 75 characters.
Add Custom Component Description
To add a Custom Component Description (describe what your users can do using the components), navigate through Organizations > Public Page > Home Page > Custom Component:
-
Enter the selected Custom Component's description in the Description input area.
-
Click on Save to save the new Custom Component Description.
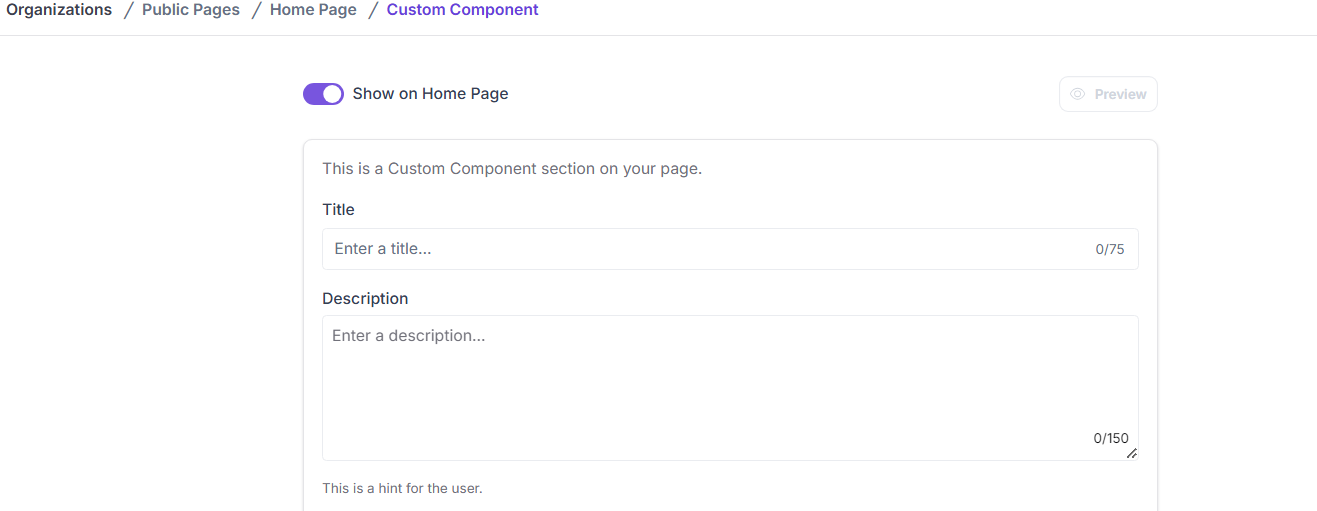
Custom Component Description should have max character length of 150 characters.
Add Custom Component Button Title
To add a Custom Component Button title, navigate through Organizations > Public Page > Home Page > Custom Component:
-
Under Button 1 (or Button 2) enter the title in the Button Title input area. (Keep the title short.)
-
Click on Save to save the Button title.

You can add a maximum of two Custom Components buttons on your club’s Public page.
Add Custom Component Button Link
To add a Custom Component Button link, navigate through Organizations > Public Page > Home Page > Custom Component:
-
Under Button 1 (or Button 2) enter the link in the Button link input area. You can generate this link from your social media handle, or you can use copy the website’s link where you want your club members to be redirected/visit.
-
Click on Save to save the Custom Component Button Link.

The Custom Component’s link should follow the common URL practise – https://www.example.com
Upload a Custom Component Image
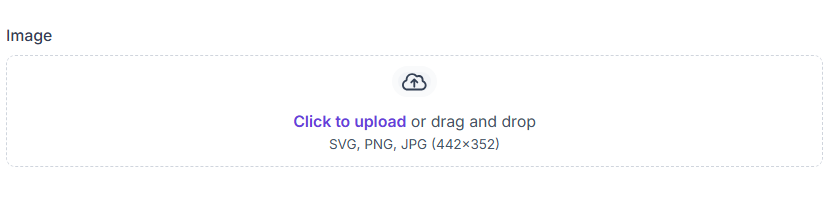
Custom Component images are displayed in the Custom Component section of your club’s Public page. It can be any image that you want to be displayed, but common practise is adding something related to your Custom Component.
To add a new CTA image for your Public page, navigate through Organizations > Public Page Home Page > Custom Component:
- Navigate to the bottom of the page, under the Image section, click on the Click to Upload option.
- Select the Image to be uploaded from your device.
- Edit/Crop the image to desired effect, click on Done.
- Click the Save button to save your new Custom Component image.
You can only upload SVG, PNG, or JPG, image files to the CTA Image.
Preview Your Page
With the Preview option you can see the changes made to a specific section of your Public page before publishing those changes.
To see the preview, click on the Preview option on the top-right of the page.
It will render a preview of what your new changes will look like on your club’s Public page.
If you’re satisfied with how the new changes look, you can publish it by clicking the Save button. It’ll make your changes appear on your club’s Public page.
Show On Page
This option allows your club to publicly display the added section on its Public Page/Homepage.
To show the specific section on your club’s Public page, you can toggle the Show on Page option.
If you choose to toggle off the Show on Page option, the section/information will not be available on your club’s Public page.